
Introduction
If you are interested in horse drawing but find it challenging, don't worry! In this article, we will guide you through easy and simple steps to create beautiful horse drawings. Whether you are a beginner or an experienced artist, these techniques will help you achieve impressive results. So, let's grab a pencil and get started!
Gather Your Materials
Before we begin, make sure you have the necessary materials. You will need a pencil, eraser, drawing paper, and optional coloring tools such as colored pencils or markers. Having these materials ready will allow you to focus on your drawing without any interruptions.
Observation is Key

Before starting your horse drawing, it's essential to observe real horses or reference images. Pay attention to their body structure, proportions, and unique features. Studying their movements and poses will help you capture the essence of a horse in your artwork.
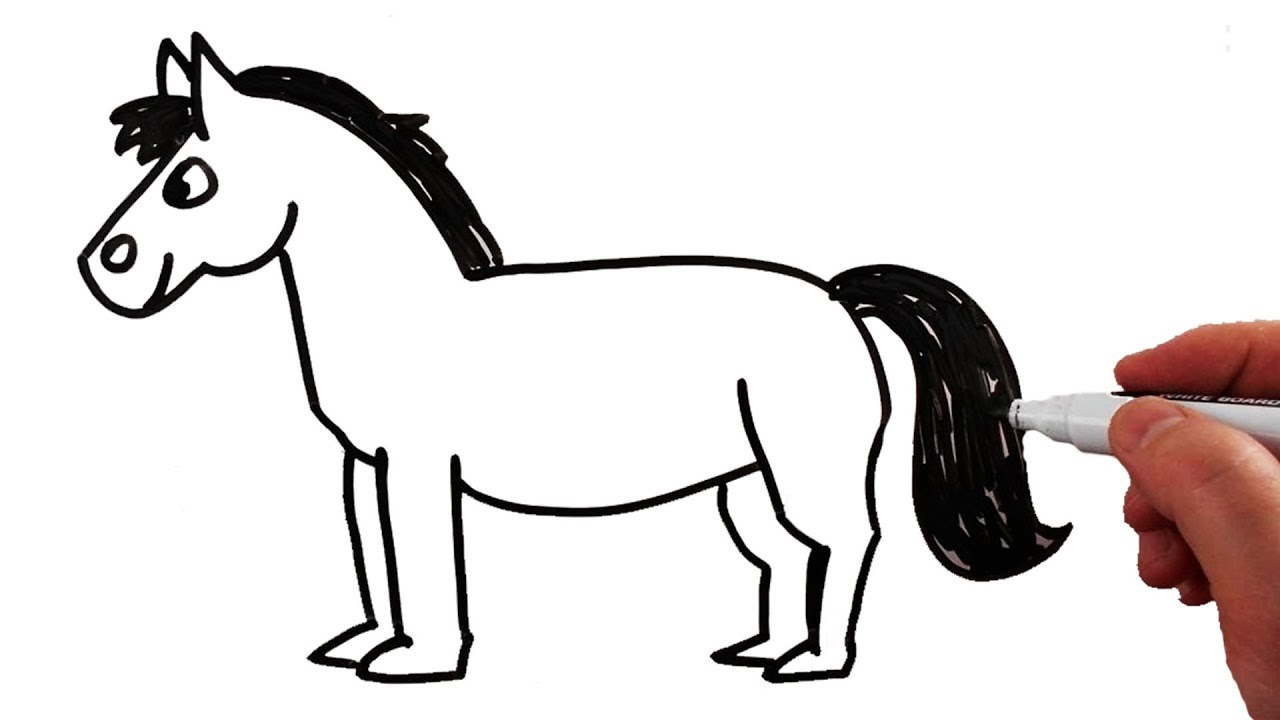
Start with Basic Shapes
To simplify the process, begin by sketching basic shapes that represent the horse's body. Use circles and ovals for the head and body, and lines for the legs and neck. These shapes will act as a framework for your drawing, making it easier to add details later on.
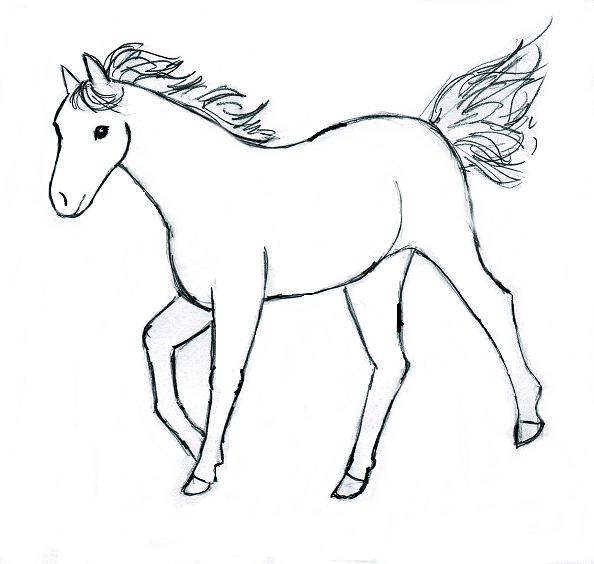
Outline the Body
Once you have the basic shapes in place, start outlining the horse's body using light and smooth lines. Focus on capturing the general proportions and curves of the horse. Don't worry about details at this stage; we will refine them later.
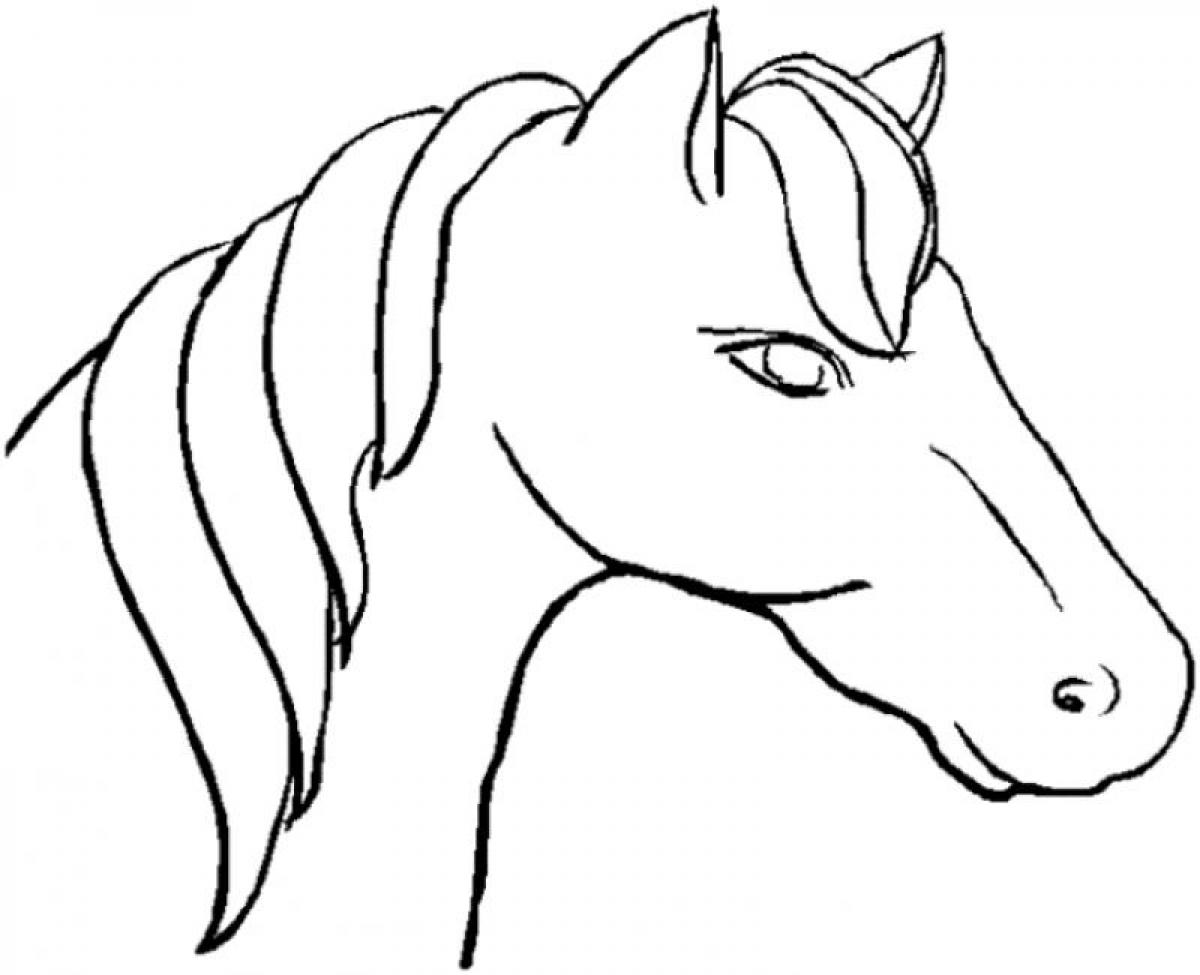
Add Details and Features

Now it's time to add the horse's distinctive features. Pay attention to its eyes, ears, mane, tail, and hooves. Take it step by step, ensuring each feature resembles a horse's anatomy. Remember, patience and practice are key to achieving accuracy in your drawings.
Refine and Erase Guidelines
Once you have added all the necessary details, take a closer look at your drawing. It's time to refine the lines, making them more defined and bold. Erase any remaining guidelines or unnecessary marks, ensuring that the horse's form stands out.
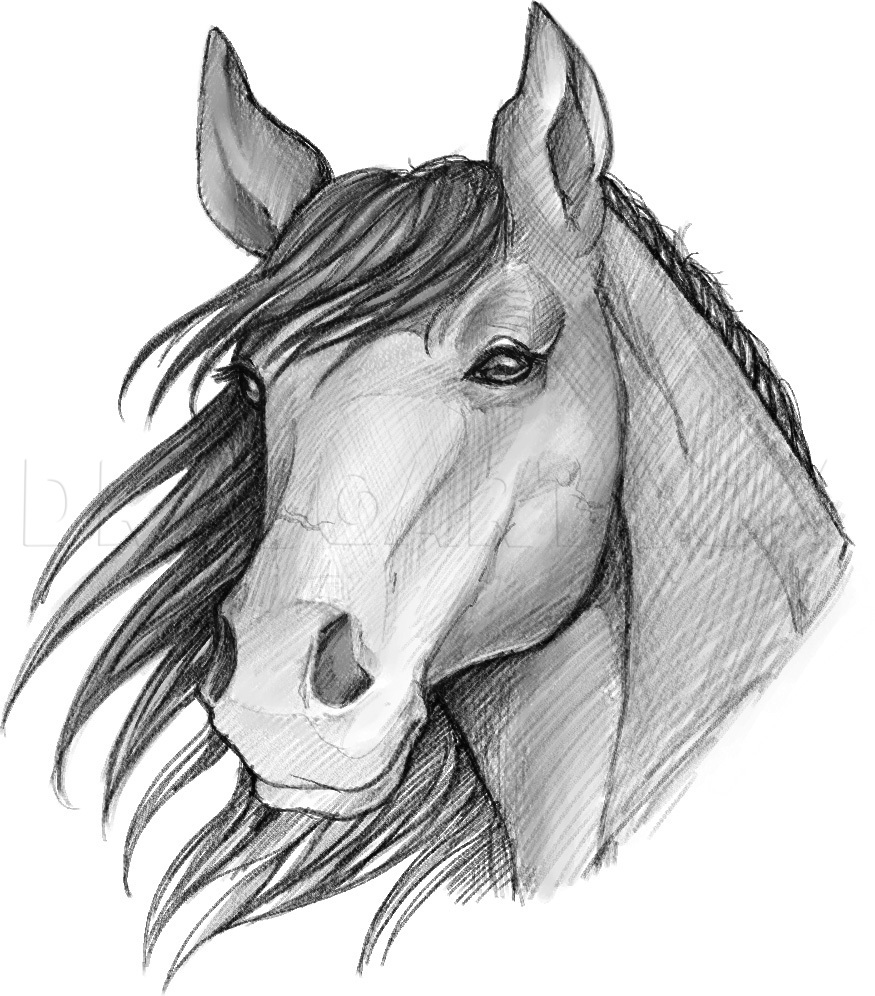
Shading and Texturing

Shading and texturing bring your horse drawing to life. Use hatching and cross-hatching techniques to create shadows and depth. Observe how light falls on a real horse or reference image to understand where the darker areas should be. Experiment with different shading styles to achieve the desired effect.
Coloring (Optional)
If you want to add color to your drawing, grab your colored pencils or markers. Research different horse breeds or use your imagination to choose suitable colors. Apply the colors gradually, layering them to create depth and realism. Remember to blend and mix colors smoothly for a polished look.
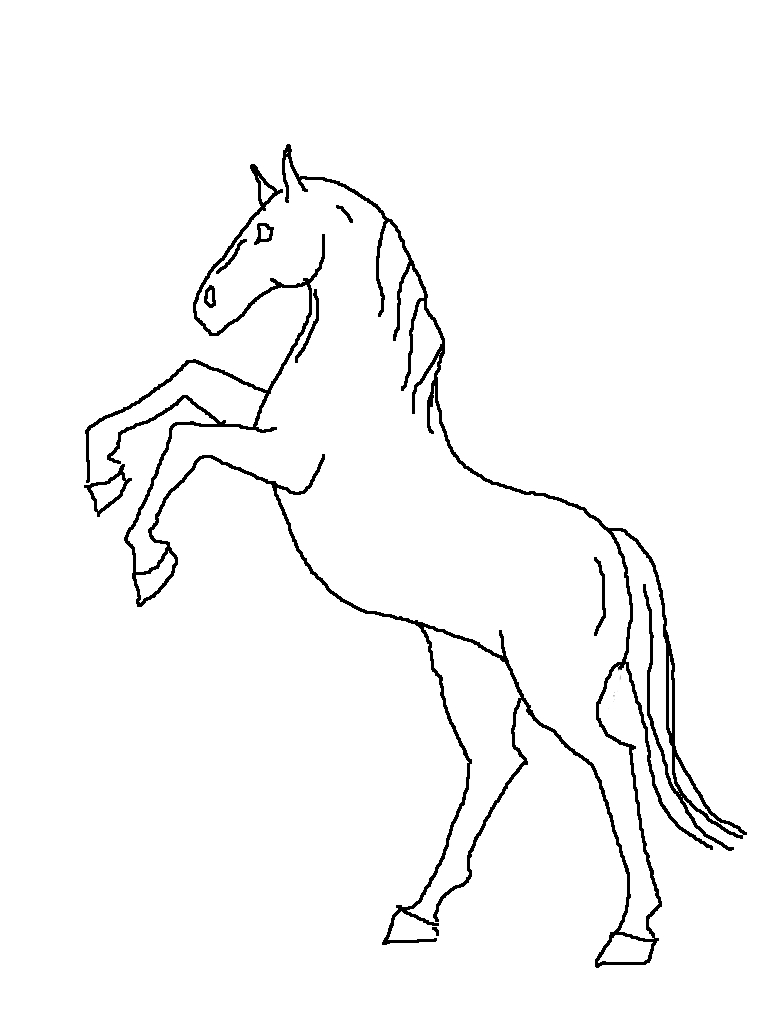
Practice, Practice, Practice

Improvement comes with practice, so keep drawing horses regularly. Challenge yourself with different poses, angles, and expressions. Study other artists' horse drawings for inspiration and learn from their techniques. The more you practice, the more confident you will become in your horse drawing skills.
Conclusion
Drawing horses can be a rewarding and enjoyable experience. By following the easy steps outlined in this article, you can create impressive horse drawings, whether you are a beginner or an experienced artist. Remember to observe real horses, start with basic shapes, add details, refine your drawing, and experiment with shading and coloring. With patience and practice, you will soon master the art of horse drawing!
